 Previous Page Next Page
To filter the data shown in a report, you can make use of the following filters:
Dataset filters are passed along to the Query Engine the same as query filters. The two levels of filters are much more efficient since only the filtered data is returned to JReport. Local filters on individual components are not passed to the Query Engine so all data is returned to JReport and the component filters out the unnecessary data. This may be very inefficient so always use dataset filters or query filters whenever possible. However if you are using stored procedures, web services and other data sources, JReport may not be able to pass the filter to the Query Engine.
The advantage of using a dataset filter instead of a query filter is that it only affects data components that use the dataset in the current report. It still passes the filter to the database but does not change the catalog thus does not affect any other reports.
For data share concern, local filters most often cannot be pushed down to the database even though the Push Down Group Query feature is enabled, thus all data is returned and JReport filters the data locally which will use a lot more computer resources. To get better performance, it is better to define the filter at the other two levels.
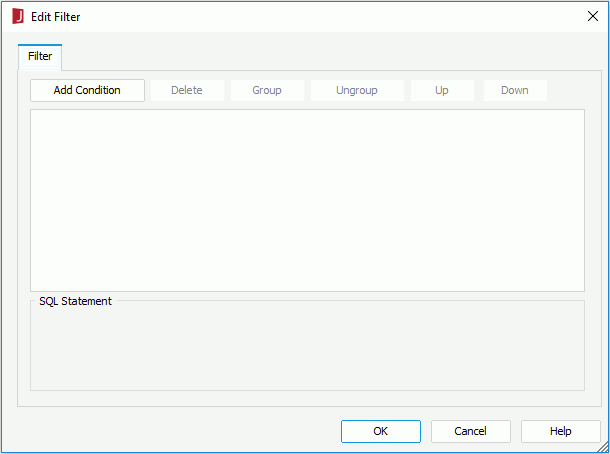
To apply a local filter in a report using the Edit Filter dialog:
If you have applied a filter to the data component when creating it via the Filter screen of the report wizard, the filter conditions are automatically displayed. You can remove or edit the conditions according to your requirements.
If the data component is created using a business view, you can add filter condition for it in the same way as you add conditions for a predefined filter in the business view. Besides, you can use a local parameter as the value of a filter condition if needed.
To add filter conditions for a data component created using a query resource:
You can also type in the values manually in the text box if you are familiar with the values. Note that if multiple values are required, you should separate them with ",", and if "," or "\" is contained in the values, write it as "\," or "\\".
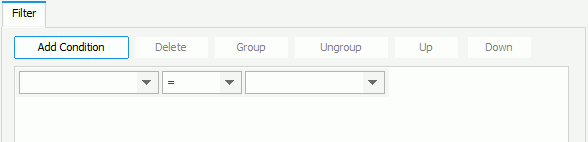
To make some condition lines grouped, select them and click the Group button, then the selected condition lines will be added in one group and work as one line of filter expression. Conditions and groups together can be further grouped. To take any condition or group in a group out, select it and click Ungroup.
To adjust the priority of the condition lines, select it and click the Up or Down button.
To delete a condition line, select it and click the Delete button.
Then when you preview the report, only data satisfying the specified filter conditions are shown in the data component.
Note: