 Previous Page Next Page
How to set a formula as the property value
Using formulas to control showing or hiding objects in a web report or library component
Example: Changing the banded panel background color at runtime
One of the most useful features of formulas is that you can use them to control the property values of objects at runtime. This provides you much more control, allowing you to customize your report and have flexibility to control the way objects are displayed based on the returned values.
While editing the property values of an object in the Report Inspector, when you click on some properties you may notice that a button  appears on the right of the drop-down arrow in the value cell. The button
  can also be seen next to the value text boxes in some dialogs (for example, the Display Type dialog, some chart format dialogs). For such Report Inspector properties and dialog options, you can use formulas to control their values.
To set a formula as the value of a property, click the button  and it changes to another button
  . Click the drop-down arrow in the value cell and a drop-down list is displayed. You can then select an existing formula in the list or click the <New Formula...> item to create one to use for the property. For a crosstab in a query based page report, if you have created crosstab formulas in the crosstab, they are also available in the drop-down list. You can also click the <New Crosstab Formula...> item in the drop-down list to create one to use in the crosstab as well.
In addition, for properties of this type in the Report Inspector, besides using formulas you can edit expressions via the Formula Editor to control their values by clicking the <Edit Expression> item in the drop-down list. An expression is in fact a formula that is local to this report and is not stored in the catalog. When an expression is specified as the value of a property, the expression result will be displayed in the value cell. It is best to use expressions whenever possible to save space in your catalog; however if the formula is needed by several reports then use a formula rather than an expression.
Notes:
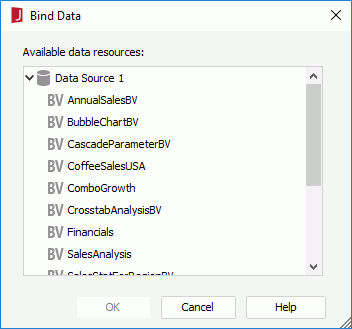
In a web report or library component, only the Invisible property can be controlled by formulas in the Report Inspector. However for any object whose parent doesn't have a business view, for example, a label in the tabular cell of a web report, if you want to use a formula to control its Invisible property, you need to first bind a business view to the web report or library component, then you can create dynamic formulas of Boolean type based on this business view to control the property.

 in the value cell and click the drop-down arrow. The formula you just created is listed in the drop-down list. Select it to control the property value. You can also select the <New Formula> item from the drop-down list to create a new one to use.
 Then at runtime, whether the object is shown or hidden will be determined by the return value of the formula. A return value of true will hide the component.
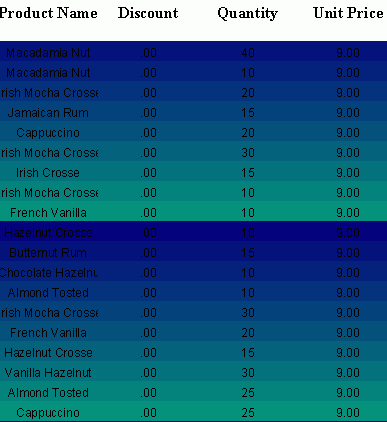
This example uses the formula MColor to control the Background property of the detail panel of a banded report at runtime. You can find this formula in Data Source 1 of the catalog SampleReports. The following is the content of the formula:
|
In this example we will vary the middle hexadecimal digits of the RGB color values. The Red value is fixed at 0x00, the Blue value is fixed at 0x7f. The Green value will change according to the number of records displayed. Record 1 will use color 0x00107f, Record 2 will use 0x00207f, and so on.
Take the following steps:
<install_root>\Demo\Reports\SampleReports. . From the drop-down list, select MColor.