 Previous Page Next Page
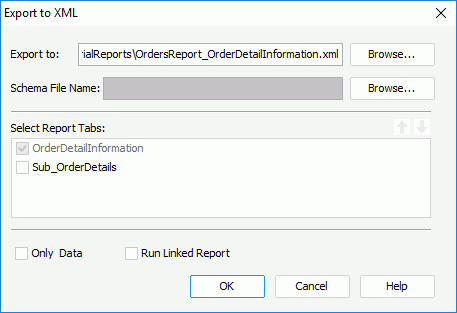
To export the result of a report to an XML file, follow the steps below:

 or
or  to change the order of the report tabs.
You should pay attention to the following when using the Export to XML feature:
Example: Deleting an element node from a schema file affects the exported XML file which is based on it
Let's take Employee Information List.cls as an example.
<install_root>\Demo\Reports\SampleReports, then open the sample report Employee Information List.cls. The newly exported Employee Information List_Employee Information.xml file will not contain information about Employee Information List_Employee Information_ReportBody_PagePanel_PageHeaderPanel_ label4.
<install_root>\lib.Change: Suppressed=Suppressed
To: ?Suppressed=Suppressed
In addition, when you uncheck Only Data, and add an @ sign in front of the value in JRXMLTag.properties, the property listed in the Element node will then move to the Attribute node.
For example, in JRXMLTag.properties,
Change: StartYPos=StartYPos
To: StartYPos=@StartYPos
You will now find that the StartYPos property is now listed in the Attribute node.
Before adding the @ sign in front of the value, the StartYPos property will have been listed in the Element node.