 Previous Page Next Page
This wizard appears when you right-click a geographic map in a report and then select Geographic Map Wizard from the shortcut menu. It helps you to edit an existing geographic map in a report and varies with the report type: web report/library component and page report.
Back
Goes back to the previous screen.
Next
Goes to the next screen.
Finish
Finishes modifying the geographic map and closes this dialog.
Cancel
Does not retain changes and closes this dialog.
Help
Displays the help document about this feature.
When the wizard is used for editing a geographic map in a web report or library component, it consists of the following screens: Data and Display.
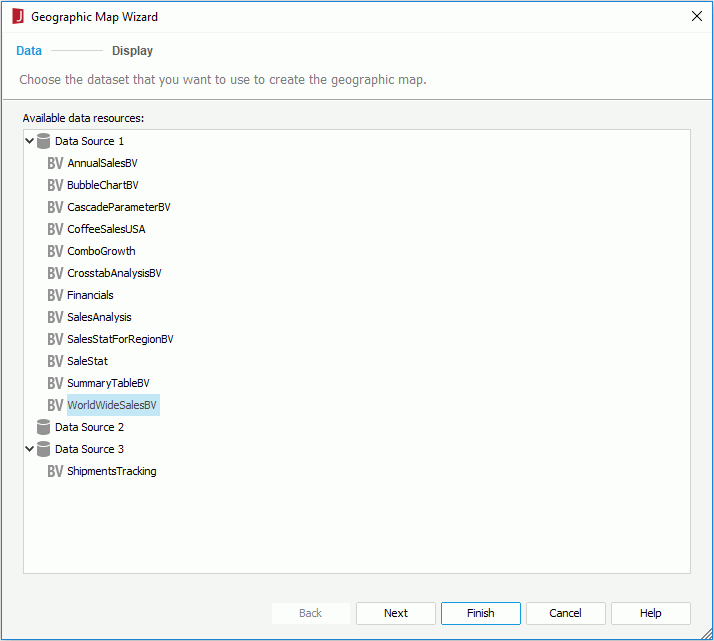
The screen lists all the predefined business views in the current catalog. Select the one you want to use for the geographic map.
Specifies the data fields that you want to display in the geographic map.
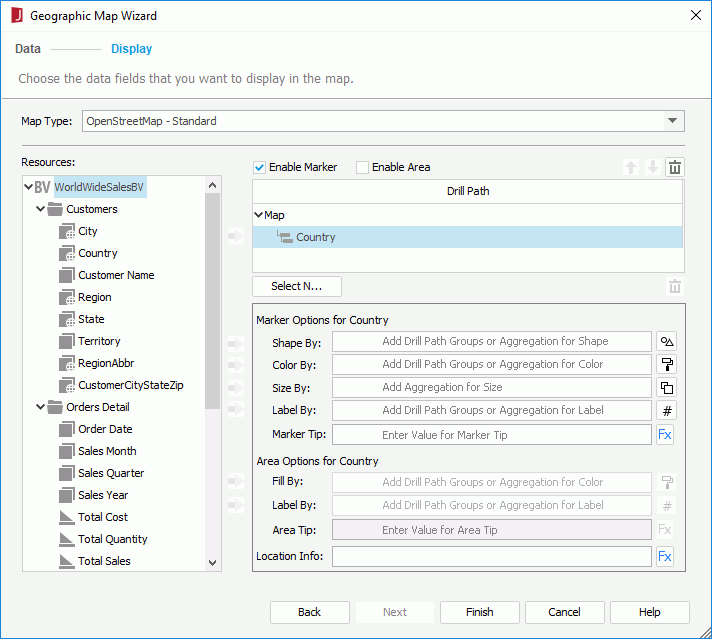
Map Type
Specifies the type for the geographic map from the drop-down list.
Resources
Lists all the group objects and aggregation objects in the specified business view, as well as the dynamic formulas for the business view in the current report. You can use them to edit the geographic map.

Adds the selected field in the Resources box to the geographic map.
Enable Marker
Enables specifying the marker properties for all the groups.
Enable Area
Enables specifying the area properties for all the groups.
One option between Enable Marker and Enable Area must be checked at least and Enable Marker is checked by default.
Drill Path
Lists the fields that are used to group data in the geographic map.

Moves the specified group one step up.

Moves the specified group one step down.

Removes the selected field from the geographic map.
Select N
Opens the Select N dialog to specify the Select N condition for the selected group level.
Web Behaviors
Opens the Web Behaviors dialog to specify web behaviors to the markers and areas of the selected group level. Available only when editing the geographic map in a library component.
Marker Options
Specifies the marker properties of the selected group in the Drill Path box. Available only when Enable Marker is checked.


Area Options
Specifies the area properties of the selected group in the Drill Path box. Available only when Enable Area is checked.
Location Info
Specifies the mapping location of the markers or areas for the selected group-by field in the Drill Path box. For each group level that you want to show on the map, specify the view element or dynamic formula that contains the value matching the folder name in <install_root>\gisinfo\geocode used by the geographic map. For example you may group by Country and State. For State, you would want to use a formula fStateCountry that concatenates state and country so Google Maps, OpenStreetMap or OpenCycleMap knows which state to use such as "New York, USA" or "California, USA".
When the wizard is used for editing a geographic map in a page report, it consists of the following screens: Data, Group, Layout, and Marker.
Specifies the dataset for the geographic map.
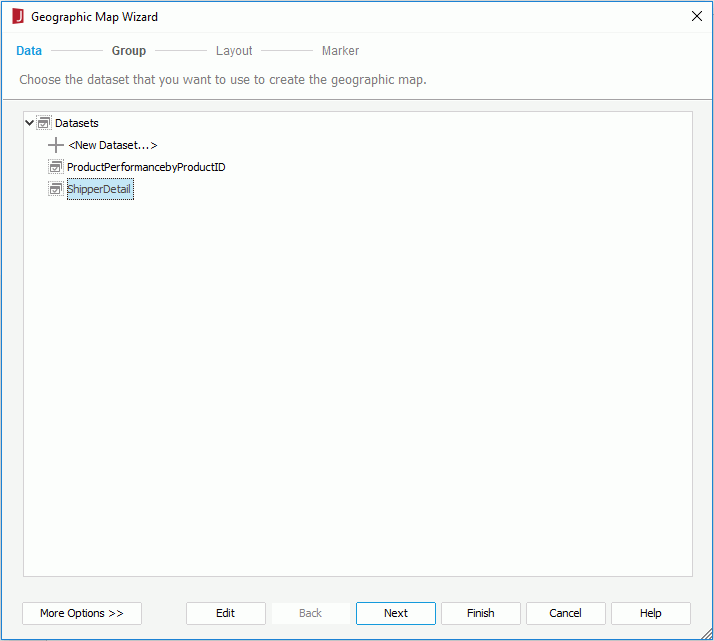
Data resource box
Lists the predefined data resources in the current catalog. Select one and a dataset based on it is created automatically for the geographic map.
More Options/Less Options
Shows or hides the dataset selection panel to choose a dataset for the geographic map.
Specifies the data fields that are used to group data in the geographic map.
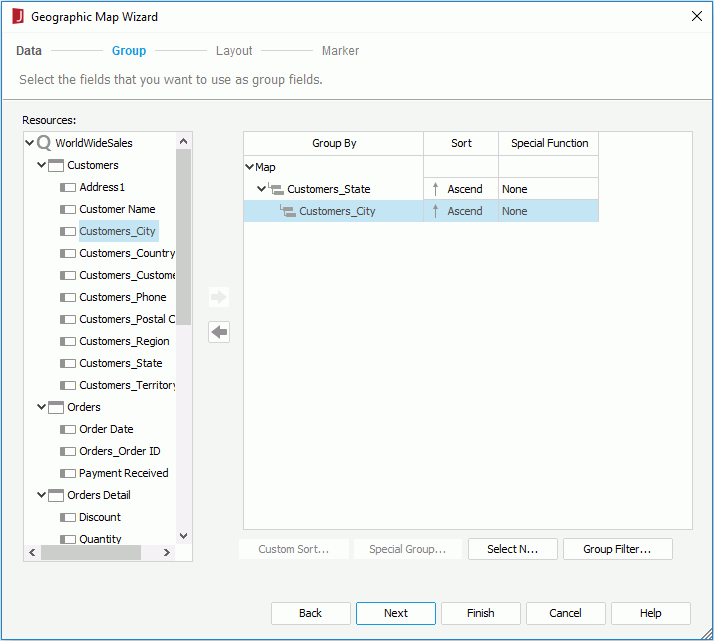
Resources
Lists the DBFields in the specified data resource, as well as the valid formulas and parameters for these DBFields in the current catalog that can be used as group-by fields in the geographic map.
Adds the selected field in the Resources box as the group-by field in the geographic map.

Removes the selected group-by field from the geographic map.
Group By
Lists the group-by fields of the geographic map.
Sort
Specifies how groups at the specific group level will be sorted.
Special Function
For a group-by field of the Numeric/String/Date/Time type, you can select a special function for it to specify to which level data will be grouped by. Select Customize to set the function in the Customized Function dialog.
Custom Sort
Specifies how to sort the groups. Activated only when you have selected Custom Sort from the Sort column to define the sort manner of groups for the selected group level.
Special Group
Specifies how to group your information. Activated only when you have selected Special Group from the Sort column to define a special group.
Select N
Opens the Select N dialog to specify the Select N condition.
Group Filter
Opens the Group Filter dialog to specify the group filter condition.
Specifies the layout of the geographic map elements.
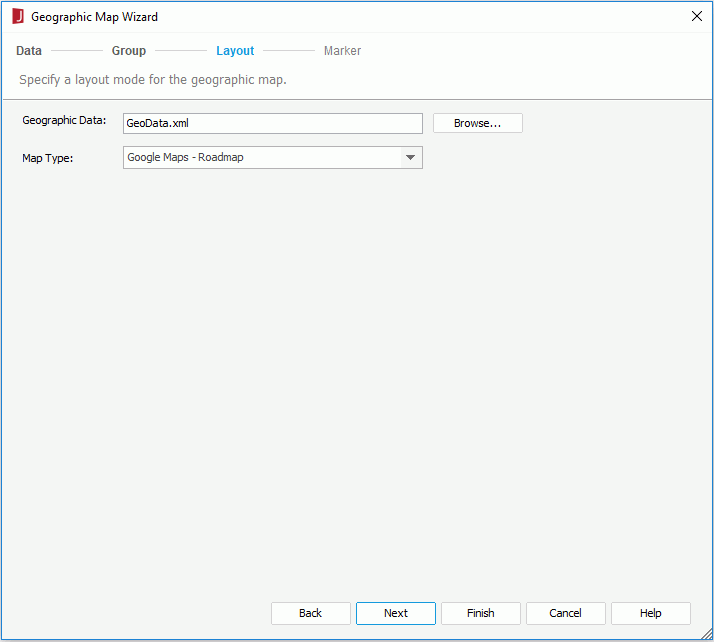
Geographic Data
Specifies the geographical data for the geographic map using an XML file.
Map Type
Specifies the type for the geographic map from the drop-down list.
Specifies properties of the markers bound with the group levels.
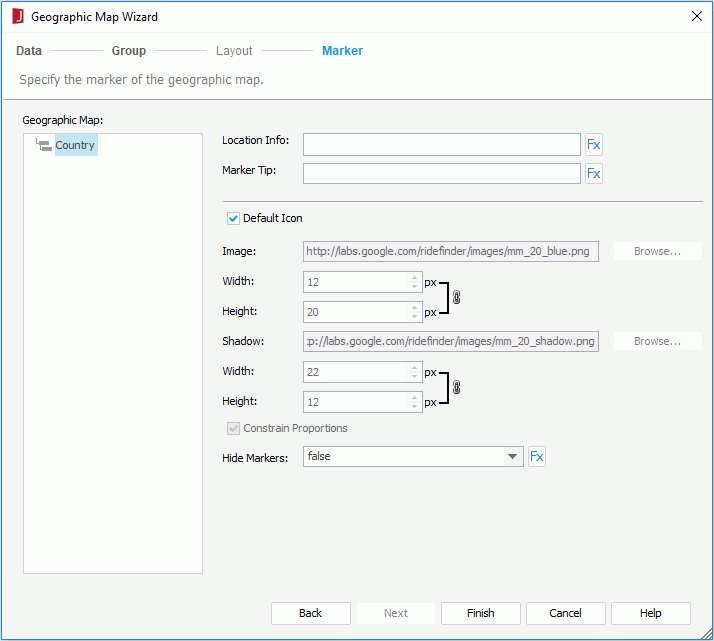
Geographic Map
Lists all group levels defined for the geographic map.
Location Info
Specifies the mapping location of the markers for the selected group level. For each group level that you want to show on the map, specify a DBfield or formula that contains the value matching the "nm" field in the geographic data XML file used by the geographic map. For example you may group by Country and State. For State, you would want to use a formula fStateCountry that concatenates state and country so Google Maps, OpenStreetMap or OpenCycleMap knows which state to use such as "New York, USA" or "California, USA".
Marker Tip
Specifies the tip information for the markers of the selected group level, which will be displayed when you hover the mouse on the markers at runtime.
Default Icon
Specifies to use the default icon for the markers of the selected group level. If you want to customize the icon, uncheck the option.
Image
Specifies the image for the markers of the selected group level. Input the URL for a web image or click Browse button to specify a local image.
Shadow
Specifies the shadow image for the markers of the selected group level. Input the URL for a web image or click Browse button to specify a local image. Only available for Google Maps types.
Constrain Proportions
Specifies whether to change the width and height for the marker image/shadow at the same time in a certain proportion. If checked, when the width/height is changed, the height/width will also be changed in a certain proportion.
Hide Markers
Specifies whether to show or hide the markers of the selected group level.