 Previous Page Next Page
How JReport gets data from JSON data sources
Setting up JSON connections in a catalog
Adding more tables to a JSON connection
Managing the tables in a JSON connection
Example: Connecting a JReport catalog to Google Cloud BigQuery
You can set up JSON connections in JReport catalogs to get data from JSON data sources. A JSON connection contains relational data which is transformed from a JSON data source.
JReport Designer can parse JSON data to extract JSON schemas including JSON metadata (JSON objects and the relation between the objects), transform JSON schemas to relational schemas, and build relational tables during the transformation, namely map JSON object classes to tables and table columns, and build the relation between the primary and foreign keys in the tables. The tables can then be accessed in the same way as JDBC supplied tables.
A JSON metadata contains a root element whose element type can be object class or object array. An object class or object array element contains some elements whose element type can be object class, object array, attribute or simple data array with the data type of String, Number or Boolean. JSON objects in an array should have the same structure, the members (name/value pairs) in an object cannot be of the same name, and for a nested array, only the first layer will be kept.
JReport Designer takes the following rules to extract metadata from JSON data:
Before the data types defined in the JSON file can function with JReport Designer, they should be converted into corresponding SQL data types when JReport Designer extracts metadata from the JSON data, following the rules in the table below.
| JSON Data Type | SQL Data Type |
|---|---|
| String (following the format Combined date and time representations in ISO 8601) | TIMESTAMP |
| String (following JDBC timestamp escape format) | TIMESTAMP |
| String (following the format Calendar dates in ISO 8601) | DATE |
| String (following the format Times with time zone designators in ISO 8601) | TIME |
| String | VARCHAR |
| Number (excluding fraction and exponent) | INTEGER |
| Number (including fraction and exponent) | NUMERIC |
| Boolean | BOOLEAN |
Notes:
When JReport Designer transforms JSON schemas to relational schemas, elements in the JSON schemas are transformed to either tables or columns in tables according to the ideographic transformation rules and named according to the naming rules.
JReport Designer takes the following rules when transforming JSON schemas to relational schemas:
The relational tables and columns in tables are named based on the following rules:
To set up a JSON connection to connect a JReport catalog to a JSON data source, follow the steps below:
If you want to set up the connection in a new data source in the catalog, select any of the existing catalog data sources, click New Data Source on the Catalog Manager toolbar, then in the New Data source dialog, specify the name of the data source, select the JSON connection type and click OK.
The JSON Connection Wizard appears.
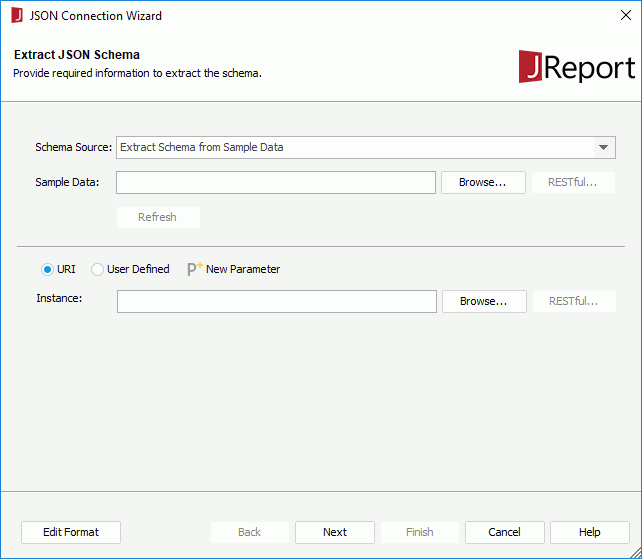
In the URI string, you can reference parameters and constant level formulas in the current catalog data source and the special field User Name in the format @fieldname. For example, if a URI string is http://localhost:8080/rest/getData?startDate=2016-01-01, and you want to use the parameters pHost, pPort and pStartDate to dynamically generate the URI at runtime, then the URI string will be http://@pHost:@pPort/rest/getData?startDate=@pStartDate. Moreover, if a URI string contains characters, such as @, '.' or double quotation marks, or other strings that do not need to be parsed, quote them with double quotation marks. If needed, you can click New Parameter to create a parameter in the current catalog data source and reference it in the URI string. If the special field User Name is used, when clicking Next in the connection wizard, the Security Identifier dialog will pop up for you to specify the user name with which to generate the stream. When you run the report on JReport Server the logon user's ID will be used.
http:// or https:// protocol, the RESTful button is activated. Click it to specify the RESTful options for the sample data in the RESTful Data Source Options dialog.
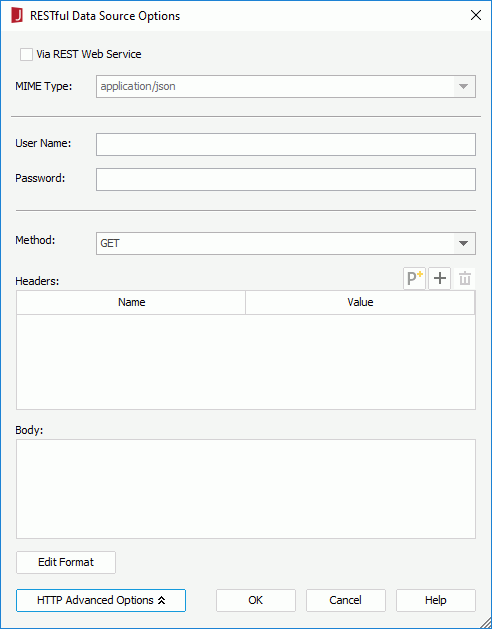
When Via REST Web Service is unchecked, the remote data will be received via the protocol in the URL you specify in the Sample Data text box in the connection wizard.
 above the Headers box to add a header line, then specify the name and value of the user defined HTTP header. Repeat this to edit more headers.
 to create a parameter in the current catalog data source and reference it in the header or body. When parameters and formulas are referenced, you can click the Edit Format button to edit the format of their values.
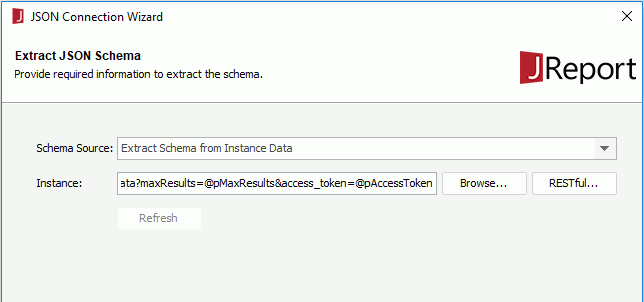
To use instance data from a URI, check the URI radio button, then input the URI string directly in the Instance text box or click Browse to select the instance file. You can also reference parameters, constant level formulas and the special field User Name in the URI string. When the specified URI string begins with http:// or https:// protocol, the RESTful button is activated. Click it to specify the RESTful options for the instance data.
To use instance data from a user defined interface, check User Defined, then provide the class name with package name in the Class Name field. You can also click Browse to find the class file. The class you enter should exist and can be found by JReport Designer, which means the class should be in the class path of the system environment or in the ADDCLASSPATH in setenv.bat/setenv.sh. After filling in this field, the class name of the interface that the class implements will be displayed automatically behind "The class implements:". Then specify the parameter string for the user defined interface in the Parameter box. The parameter string must match the format defined in the class. You can also reference parameters, constant level formulas, and the special field User Name in the parameter string.
http:// or https:// protocol, the RESTful button is activated. Click it to specify the RESTful options for the instance data.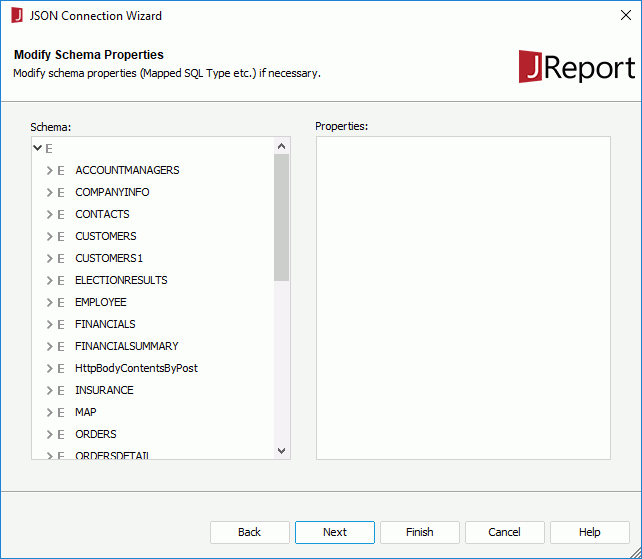
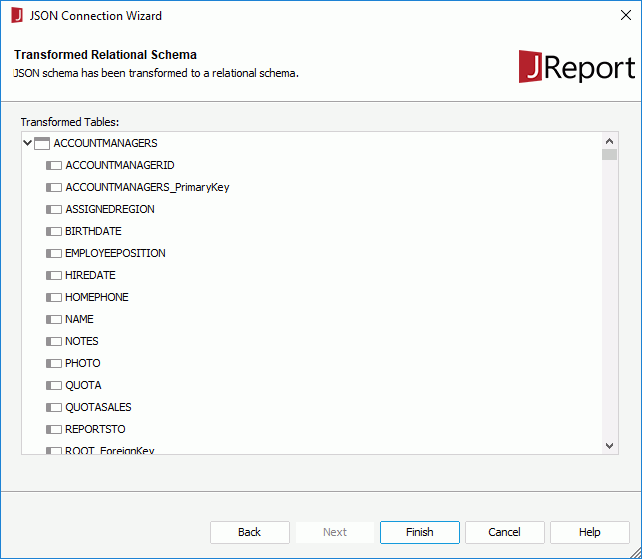
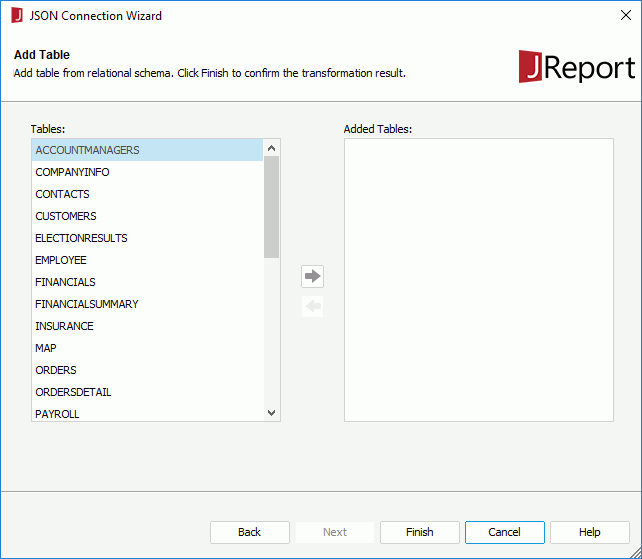
Queries and business views are created on tables and a report is developed from a query (or something else which is functionally similar) or from a business view.
When a JSON connection is set up, you can add more tables transformed from the JSON data source into the JReport catalog via the JSON connection.
The Add Tables dialog appears.
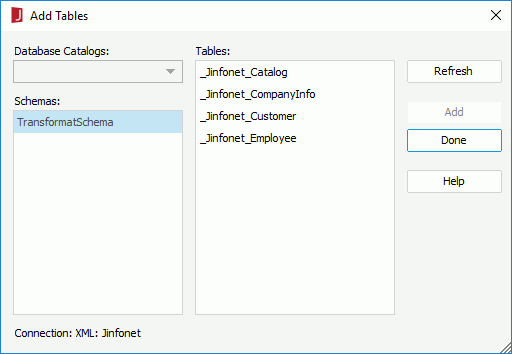
To choose consecutive tables, click the first table, press and hold down the SHIFT key, and then click the last table. To choose tables that are not consecutive, press and hold down CTRL, and then click each table.
For the tables that have been transformed from a JSON data source and added into a JReport catalog via the specified JSON connection, you can refresh them, organize them into folders, and remove and add the table columns the same as you do on tables from a JDBC database.
In the following example, we will set up a JSON connection to connect a JReport catalog data source to Google Cloud BigQuery. In this example, we will create two parameters in the JReport catalog and use them to provide values for the two tokens access_token and maxResults in the URL of the JSON instance file used to access Google Cloud BigQuery. The token access_token is for authorizing a Google API request, and maxResults represents the maximum record number to return. You can change the parameter values to provide dynamic values for the two tokens at runtime.
<install_root>\Demo\Reports\SampleReports. to add a value line, double-click in it and then type in the valid token value to access Google Cloud BigQuery, for example, ya29.Ci9dA2sA8J_wM8e5FnY9rJg551153GQWGbleO-y9aeZOky9V36Tz497HY1chApjLFg.
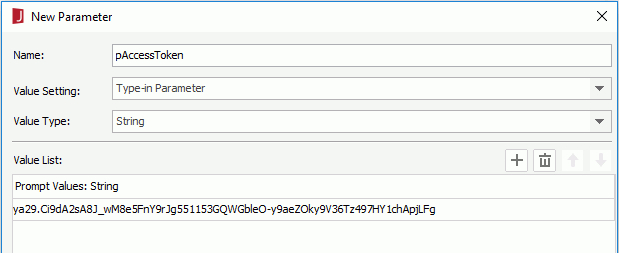
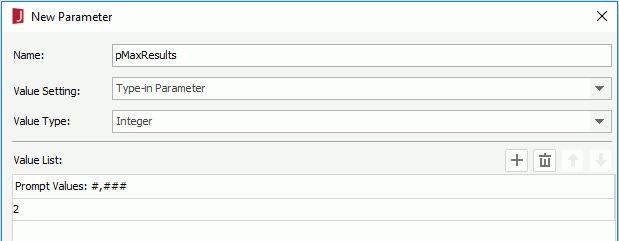
For more information about creating parameters, see Creating a Parameter.
https://www.googleapis.com/bigquery/v2/projects/bigquery-public-data/datasets/samples/tables/gsod/data?maxResults=@pMaxResults&access_token=@pAccessToken
 to add it to the Added Tables box.