 Previous Page Next Page
A shape map is a special kind of image in JReport. It contains a picture and certain areas that are bound with groups in a banded object.
The Shape Map feature is supported only in page reports created using query resources and works when the page reports run in the HTML format or in Page Report Studio.
See an example: The SampleComponents catalog, included with JReport Designer, contains reports that have examples of how each component type could be used in a report. For the shape map component example, open <install_root>\Demo\Reports\SampleComponents\MapReport.cls.
 from the Components panel to the destination.
The Shape Map Editor appears.
 to specify the image and click OK.
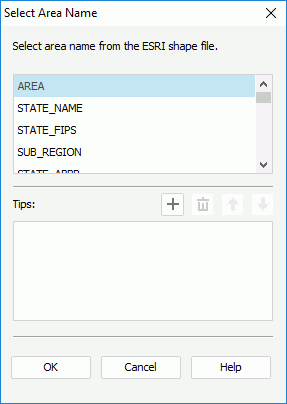
If you choose to import the map areas from a .shp file, the Select Area Name dialog appears, prompting you to further specify the field in the ESRI shape file using which to define the area names and the fields from which to get the area tooltip. The tooltip will be displayed when you hover the mouse over the areas when the report runs in HTML format or in Page Report Studio.
To define the tooltip of the map areas:
 . Repeat this to add more fields.
To remove a field from the tooltip, select it in the Tips box and click  .
.
 and
and  . The order of the fields determines the display sequence of their values in the tooltip. (for more information, see Select Area Name dialog).
Note: The area tooltip can be displayed only when Alternate Content Type on the map object is set to customized.
To draw an area, click the left mouse button to pick the start point of the area. Move the mouse pointer and click the left mouse button to select the other points. The points will be connected automatically. When you move the mouse pointer to the start point, a square appears indicating that the area will be closed. Click the left mouse button to finish drawing the area. If you want to undo your last line, click the right mouse button.
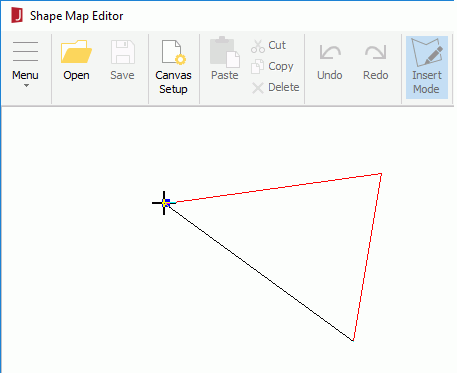
To change the shape of an area, move the mouse pointer over the border or the points of the area. When it becomes a cross, choose a point on the line and drag it to create a new point. You can also choose a point of the area and drag it to a new position. If there are three points on one line, the middle point will be deleted automatically.
To move an area, move the mouse pointer close its border. When it changes to a four-headed arrow, drag the area to a new position.
Tip: If you have specified a background image for the map, and the size of it is not the same as that of the map object, you can click Menu > Insert > Match Background Image in the Shape Map Editor to resize the map object so as to make it match the size of the background image.
To bind a link to a map area, right-click it and select Link from the shortcut menu, then define the link in the Insert Link dialog. For details about different link targets, see Binding a Link to a Label.
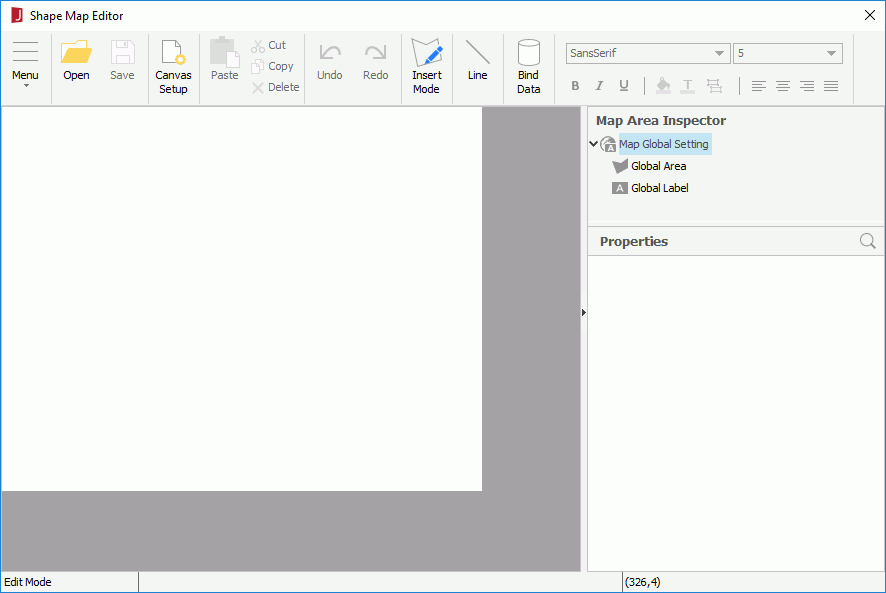
 to search for the required properties using the search bar if needed. For labels and summaries, you can also edit their background color, foreground color and font properties by using the corresponding buttons on the Shape Map Editor toolbar.
For areas, labels and summary fields, you can specify the properties globally and apply the global settings to individual ones conveniently. To specify area, label or summary field properties globally, select the corresponding sub node under the Map Global Setting node in the Map Area Inspector tree, then edit the property values accordingly.
To make a specific area, label or summary field adopt the global settings, select it in the inspector tree, then set its Use Global Setting property to true. If you want the global settings to be applied to all the areas, labels or summary fields at a time, click Menu > Edit > Reset All, then in the Reset All dialog, specify the properties according to your requirements.
The shape map is now inserted in the specified destination. You can further edit it using the Shape Map Editor if needed. To display the editor again, right-click the shape map and click Format Shape Map on the shortcut menu.
When you create a shape map, you can make it bound with a data resource such as a query, an imported SQL file so as to show values on the areas.
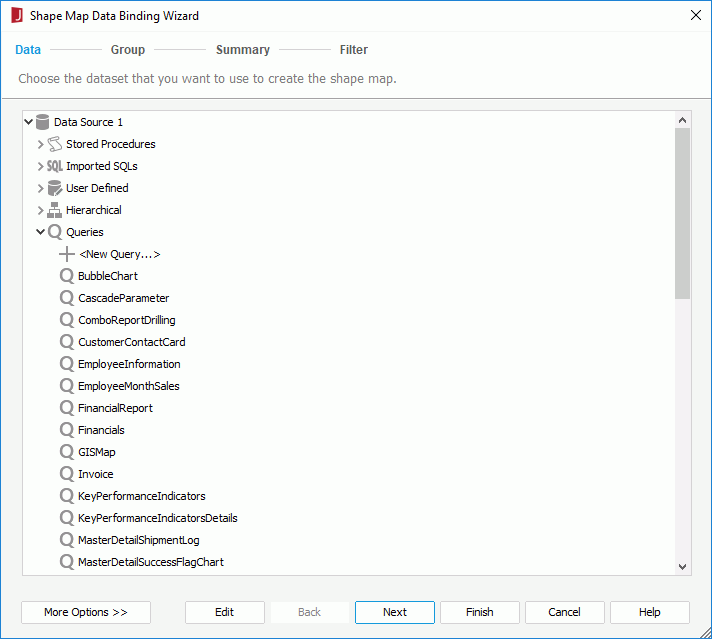
If the predefined data resources are not what you want, you can click the first item in the corresponding resource node to create one. When a query is selected, click the Edit button to modify the query if required. Then a new dataset based on the selected data resource is created in the page report.
If you want to use an existing dataset in the current page report for the shape map, click the More Options button and then:

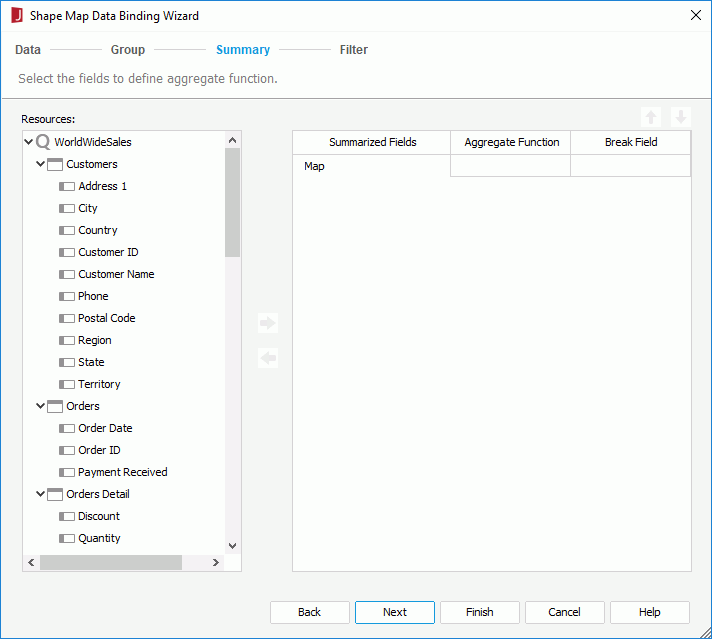
 . From the Aggregate Function drop-down list, select the function as required. Data in each group will then be calculated based on the added field using the specified function, and the summary result will be displayed accordingly on map areas the names of which match with values of the group-by field.
The summaries created from the Summary screen will be added to the current catalog as static summaries.
When a shape map is bound with data, you can add conditional formats to the map areas, then when a specified condition is fulfilled, the format defined on the condition will be applied to the map areas automatically. This is very useful to highlight values that might need to be acted on by the end user.
 on the toolbar, or click Menu > Format > Conditional Formatting. The Shape Map Area Conditional Formatting dialog appears.
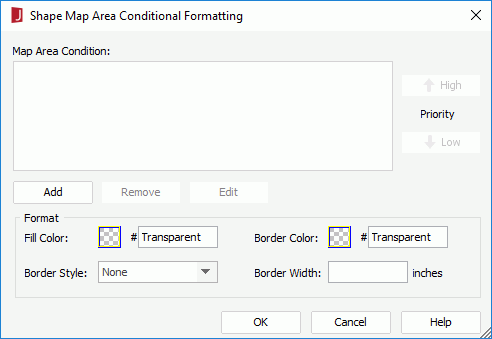
next to the value box to specify the value of how to build the condition. You can also type in the value manually. To make some condition lines grouped, select them and click the Group button, then the selected condition lines will be added in one group and work as one line of filter expression. Conditions and groups together can be further grouped. To take any condition or group in a group out, select it and click Ungroup.
To adjust the priority of the condition lines, select it and click the Up or Down button.
To delete a condition line, select it and click the Delete button.
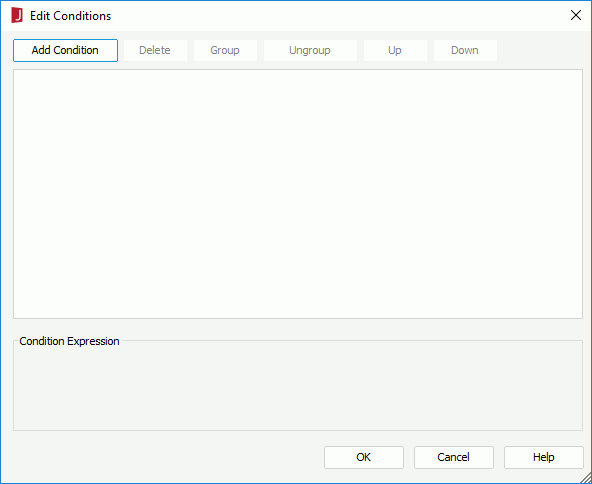
The newly added condition is then displayed in the Map Area Condition box in the Map Area Conditional Formatting dialog.
To edit a condition, select the condition from the Map Area Condition box, click the Edit button, then edit the condition in the Edit Conditions dialog.
To adjust the priority of the conditions, select a condition and click the High or Low button.
To remove a condition and the corresponding format, select the condition from the Map Area Condition box and then click the Remove button.