 Previous Page Next Page
KPIs
A KPI (Key Performance Indicator) is a data container based on a business view for displaying KPI value together with a chart to help illustrate the value. It is not supported in page reports.
In a KPI the following objects can be added:
- Aggregations and formulas as the KPI values.
- Labels to describe the values and as the KPI title or description.
- Images to decorate the KPI or used as logo.
- A KPI chart to assist the KPI values, for example, to show the trend of total sales over time. At most one KPI chart can be included in a KPI. A KPI chart does not have the legend and axes compared to normal JReport charts. It can only be inserted in a KPI and inherit dataset from the KPI. The following 2-D chart types are supported in KPI charts: Bar, Bench, Line, Area, Pie, and Bullet.
A KPI is bound with a business view so the KPI value and KPI chart in it are both based on this business view. The objects in a KPI can be freely positioned and resized by dragging inside the KPI.
To create a KPI in a web report or library component:
- Position the mouse pointer at the destination where you want to insert the KPI. A KPI can be inserted in a web report or library component as listed in Component placement.
- Do either of the following:
- Drag
 from the Components panel to the destination.
- Click Insert > KPI.
- Click Home > Insert > KPI.
- In the Choose Data dialog, select a business view in the current catalog to bind with the KPI and click OK.
- A blank KPI is inserted at the destination. You can then define the KPI by adding objects into it.
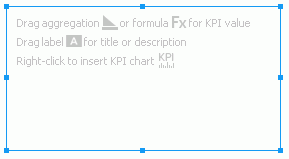
- Drag an aggregation or a dynamic formula from the Data panel as the KPI value. The name label of the object is added at the same time by default. Edit the label text if needed.
- Insert a KPI chart to demonstrate data about the KPI value.
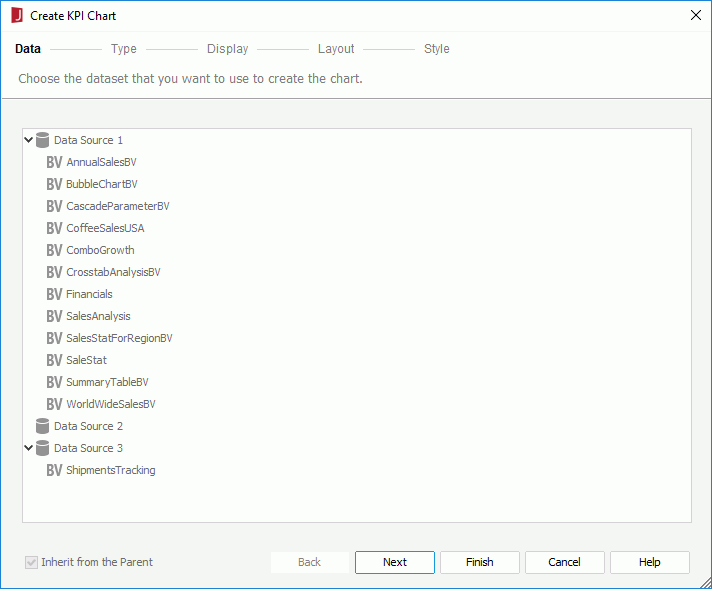
- Right-click in the blank area of the KPI and then select Insert KPI Chart from the shortcut menu. The Create KPI Chart wizard is displayed.
- The Data screen shows the business view bound with the KPI. It cannot be changed.
- In the Type screen, select a 2-D Bar, Bench, Line, Area, Pie or Bullet chart type.

- In the Display, Layout, and Style screens, define the chart as you would do for a general chart.
- Click Finish to create the chart. A chart is now inserted into the KPI.
- Add more aggregations, dynamic formulas, labels and images into the KPI if required.
- Resize the KPI and the objects in it and adjust the position of the objects by dragging to improve the layout.
When a KPI is created in a report, you can further edit the objects in it according to your requirements. The KPI chart in a KPI supports most of the operations that can be applied on a general chart. For example, you can modify its definition using the KPI Chart Wizard, add link to its data markers, and format its paper, platform, wall, label and data markers (bars/benches, lines, areas, pies or bullets). If you want to remove the KPI chart, select the KPI, right-click and click Remove KPI chart on the shortcut menu.
The following example uses a KPI to show total sales:
- Make sure SampleReports.cat is the currently open catalog file. If not click File > Open Catalog to open it from
<install_root>\Demo\Reports\SampleReports.
- Click File > New > Web Report to create a blank web report.
- Drag from the Visual category of the Components panel to the destination.
- In the Choose Data dialog, select WorldWideSalesBV in the current catalog to bind with the KPI and click OK.
- A blank KPI is inserted at the destination.
- In the Data panel, create a dynamic formula named KPI_TotalSales with the following expression. Use it as Aggregation.
if (@"Orders Detail.Total Sales">=1000000)
    ToText(@"Orders Detail.Total Sales"/1000000, "$#,###.00")+"M"
else if (@"Orders Detail.Total Sales">=1000)
    ToText(@"Orders Detail.Total Sales"/1000, "$#,###.00")+"K"
else
     ToText(@"Orders Detail.Total Sales", "$#,###.00")
|
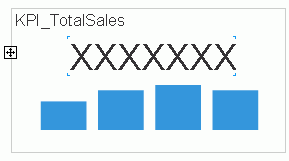
- Drag the formula from the Data panel to the KPI as the KPI value.
- Right-click in the blank area of the KPI and then select Insert KPI Chart from the shortcut menu.
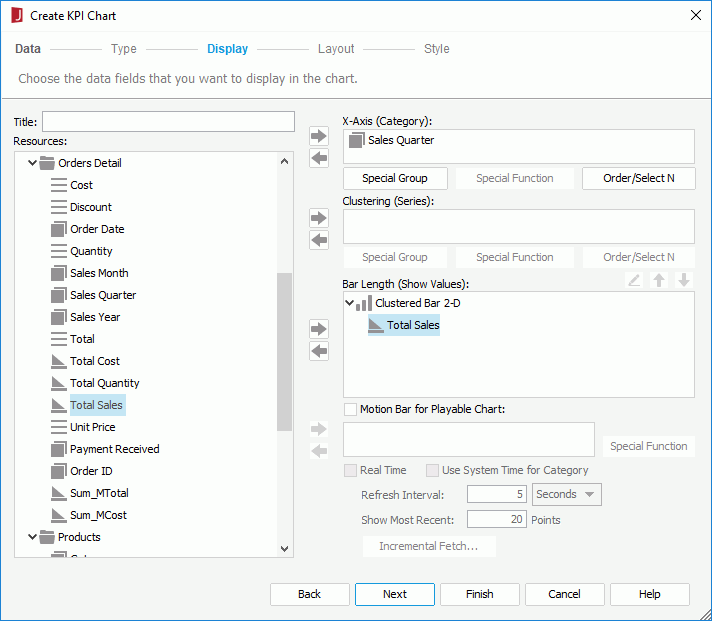
- In the Create KPI Chart wizard, go to the Display screen, add the group object Sales Quarter to the category axis, the aggregation object Total Sales to the value axis, then and click Finish to insert the KPI chart.
- Adjust the position of the inserted objects. Widen the formula label and field so that the label and value can be fully displayed.
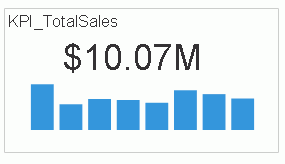
- Click the View tab to view the real data.
Previous Page Next Page